How To Guide: WordPress Elementor
How To
Logging into Your WordPress Dashboard
Method 1: From the WordPress Dashboard
- Open your browser and go to your WordPress login page. Typically, this is your website URL followed by
/wp-admin(e.g.,www.oreillylawassociates.com/wp-admin) or click this link. - Enter your username and password to log in. This will be sent to you via email. If you have not received this or have trouble logging in, please contact me immediately.
Access Elementor
Method 1: From the WordPress Dashboard
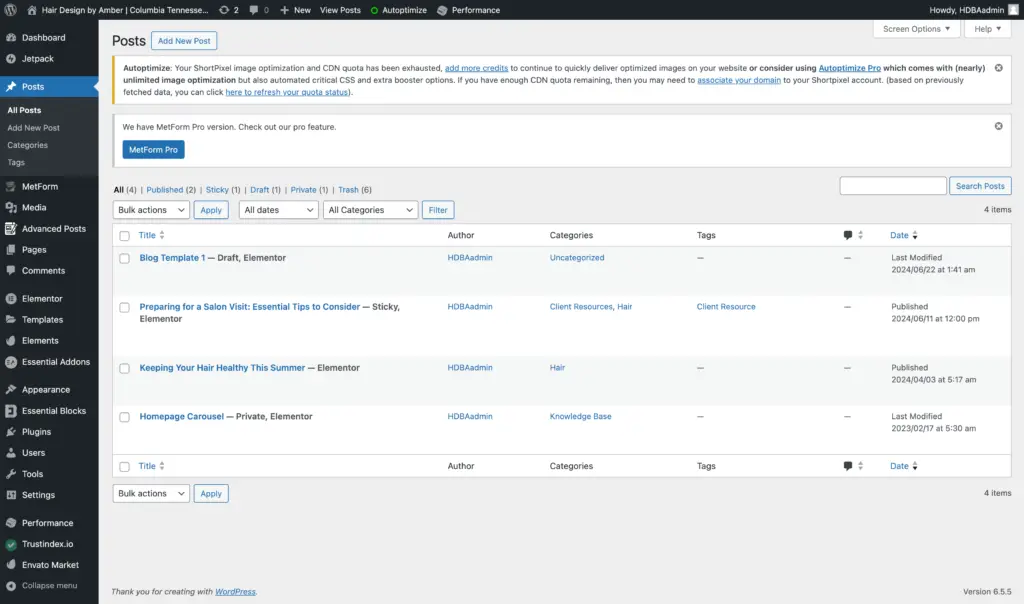
- Navigate to Posts On the left-hand menu of the WordPress dashboard, click on “Posts” to see a list of all the posts on your website.
- Add a New Post Click the “Add New” button at the top of the page to create a new post.
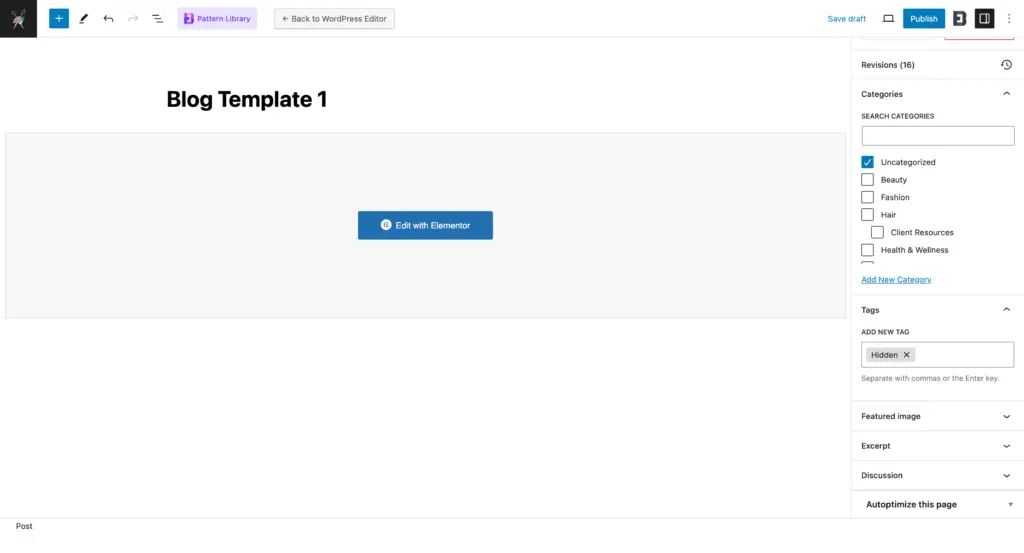
- Edit with Elementor Once you’re in the new post editor, click the “Edit with Elementor” button.
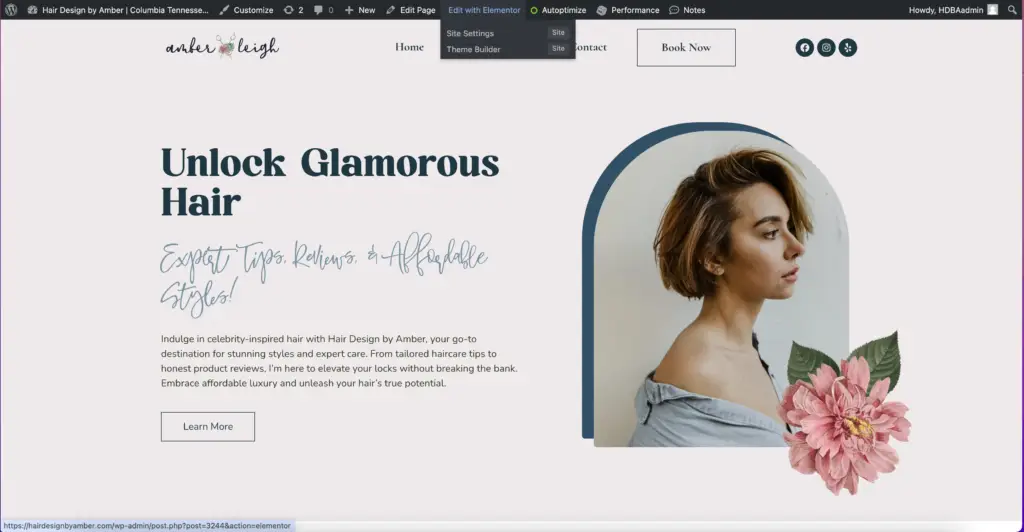
Method 2: From the Website Front End
- Visit Your Website Open a new tab in your browser and go to your website’s front end www.oreillylawassociates.com.
- Log In if Needed If you aren’t already logged in, you might see a “Log In” link in the footer or in a menu. Use this link to log into your site.
- Enable Edit Mode
- – **Admin Bar**: Once logged in, you should see a black admin bar at the top of your screen.
- – **Edit with Elementor**: Navigate to the page you want to edit. In the admin bar, you will see an “Edit with Elementor” button. Click this button to enter Elementor’s editing mode.
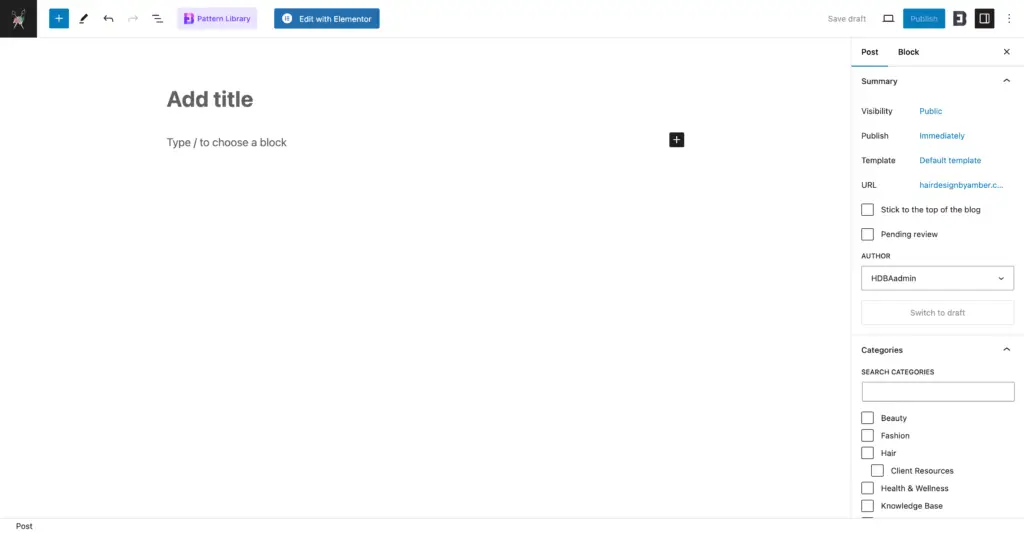
Create a New Post
1. Add New Section Click on the folder icon in the live preview area to add a new section.
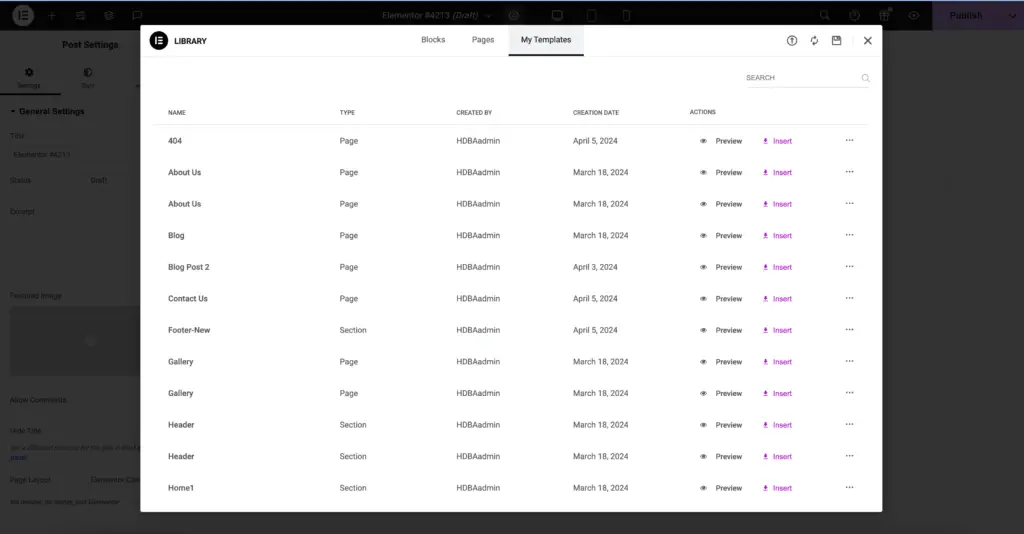
2. Open the Template Library Click on the “My Templates” tab in the Template Library window.
3. Choose a Template You will see a list of your saved templates. Hover over the template you want to use and click the “Insert” button.
Select a Post Template
1. Add New Section Click on the folder icon in the live preview area to add a new section.
2. Open the Template Library Click on the “My Templates” tab in the Template Library window.
3. Choose a Template You will see a list of your saved templates. Hover over the template you want to use and click the “Insert” button.
I have created a series of pre-formatted blog post templates:
Blog Post Template – Product Review
Blog Post Template – Tutorial
Blog Post Template – 4×4
Use Elementor AI to Write a Post
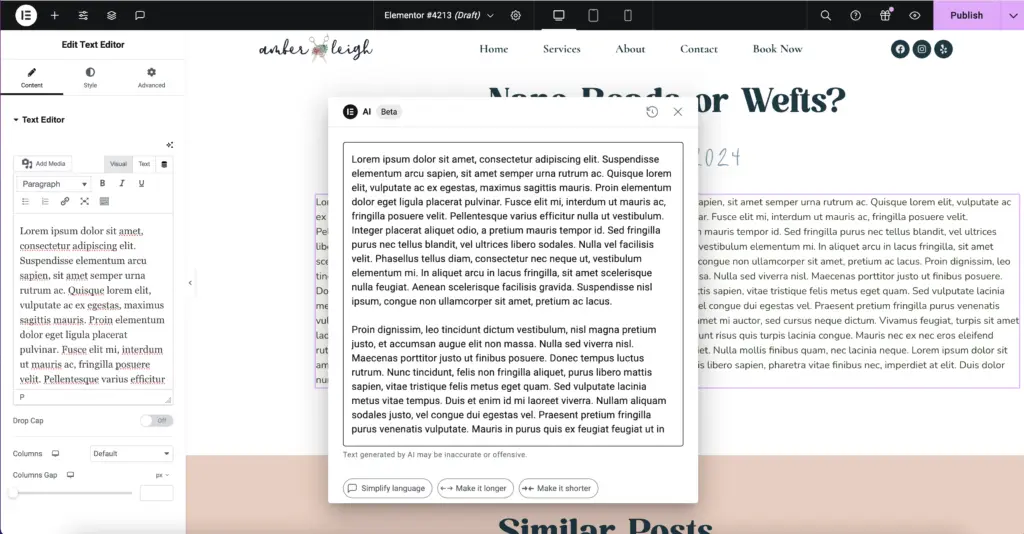
1. Start Writing with Elementor AI In the Elementor panel, look for the AI writing tool. Click on the AI writing icon to open the interface.
2. Generate Content Provide the AI with a brief description or keywords for your post. The AI will generate content based on your input. You can refine this content by providing more specific instructions or making edits directly.
3. Insert AI-Generated Content Once you’re satisfied with the AI-generated content, click “Insert” to add it to your post. You can further edit this content in the live preview area as needed.
Add Images & Videos with Envato Elements Plugin
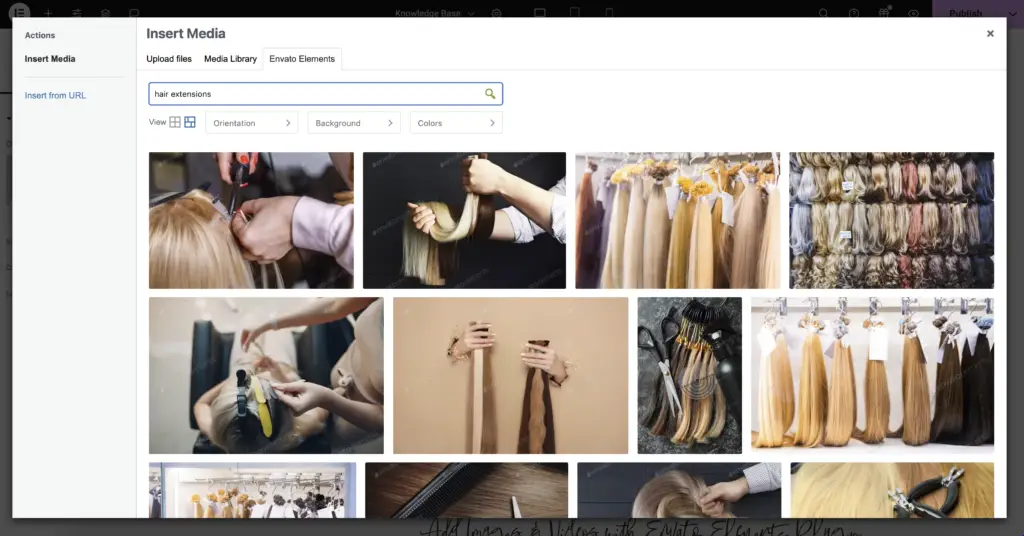
1. Access Envato Elements Library In the Elementor panel, you will see an Envato Elements icon. Click on it to open the library.
3. Choose Images or Videos Browse through the library to find the images or videos you want to use. You can use the search bar to find specific types of media. Click on the desired media, and then click “Insert” to add it to your post.
4. Customize Media Once inserted, you can resize, crop, and style the images or videos using the Elementor panel.
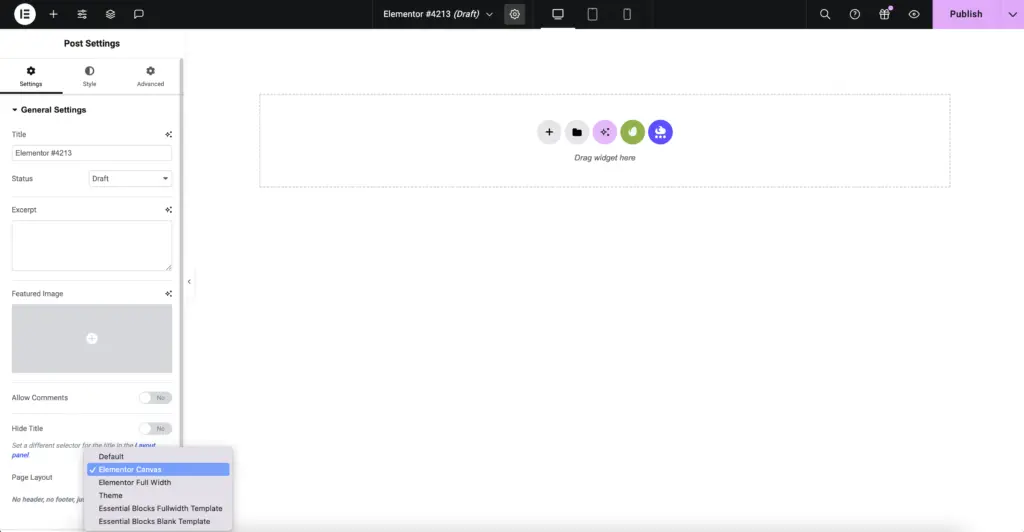
Advanced Settings (Optional)
1. Click on the Widget or Section you want to adjust.
2. Go to the Advanced Tab in the Elementor panel. Here, you can adjust settings such as margins, padding, motion effects, responsive settings, and more. This is useful for fine-tuning the appearance and behavior of your elements.
Preview & Save Changes
1. Preview Changes Click the eye icon at the bottom of the Elementor panel to preview your post before saving.
2. Save Your Work Once you’re satisfied with your changes, click the green “Update” button at the bottom of the Elementor panel to save your changes.

Publish the Post
1. Return to the WordPress Editor Click the hamburger menu (three horizontal lines) at the top left of the Elementor panel.
2. Exit to Dashboard Select “Exit to Dashboard” to return to the WordPress post editor.
3. Publish In the WordPress post editor, click the “Publish” button to make your post live.
Categories, Tags, and Taxonomies
Categories
– Purpose Categories are used to broadly group your posts. They help define the general topic of a post.
– Usage
– When creating or editing a post, you can assign it to one or more categories. You’ll find the “Categories” box in the right-hand sidebar of the WordPress editor.
– Categories can have a hierarchy. This means you can have parent categories and subcategories.
– Example: If you have a blog about cooking, you might have categories like “Recipes,” “Cooking Tips,” and “Ingredient Guides.” Under “Recipes,” you might have subcategories like “Desserts,” “Main Courses,” and “Appetizers.”
– Creating Categories
– In the WordPress dashboard, go to “Posts” > “Categories.”
– Enter the name of the category, its slug (URL-friendly version), and optionally a parent category and description.
– Click “Add New Category” to save it.
Tags
– Purpose Tags are used to describe specific details of your post. They help to identify all the key aspects of your content.
– Usage
– Tags are non-hierarchical, meaning they don’t have parent-child relationships.
– You can assign multiple tags to a post, providing detailed metadata that helps users and search engines understand the specifics of your content.
– Example: For a post titled “Chocolate Cake Recipe,” you might use tags like “chocolate,” “cake,” “baking,” “dessert.”
– Creating Tags
– When creating or editing a post, you can add tags in the “Tags” box on the right-hand sidebar. Simply type the tag and press enter.
– Alternatively, in the WordPress dashboard, go to “Posts” > “Tags” to add tags manually.
Custom Taxonomies
– Purpose Taxonomies are a way of grouping posts and custom post types together. WordPress comes with two default taxonomies (categories and tags), but you can create custom taxonomies for more specific organization.
– Usage
– Custom taxonomies can be hierarchical (like categories) or non-hierarchical (like tags).
– They are particularly useful for websites with specialized content that needs detailed categorization.
– Example: If you run a movie review site, you might create custom taxonomies like “Genres” (with terms like “Action,” “Drama,” “Comedy”) and “Directors.”
– Creating Custom Taxonomies
– Custom taxonomies are typically created by developers using code or by using plugins like Custom Post Type UI.
– These taxonomies are added to your posts or custom post types in the same way as categories and tags.
How to Use Categories, Tags, and Taxonomies Effectively
– Plan Your Structure Before you start assigning categories and tags, plan how you want to organize your content. This will help you maintain a consistent and logical structure.
– Use Categories for Broad Grouping Use categories to group your posts into broad topics. Avoid using too many categories; aim for a clear and concise hierarchy.
– Use Tags for Specific Details Use tags to highlight specific details or topics within your posts. This will help users find related content easily.
– Avoid Tag Overload Don’t over-tag your posts. Aim for relevant and useful tags that truly describe the content.
– Regular Maintenance Periodically review and clean up your categories and tags to ensure they remain relevant and useful.
Update Other Posts
1. Repeat the Process Go back to the WordPress dashboard by clicking on the WordPress icon at the top left corner.
2. Select Another Post Navigate to “Posts” and select another post to edit, then repeat the steps above.
Exit Elementor
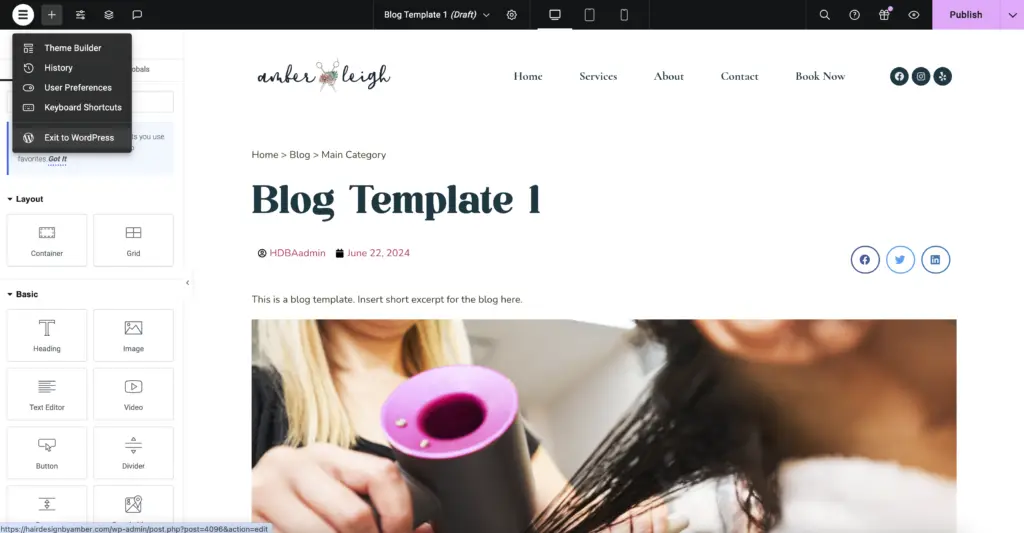
1. Return to the Dashboard Click the hamburger menu (three horizontal lines) at the top left of the Elementor panel.
2. Exit to Dashboard Select “Exit to Dashboard” to return to the WordPress admin area.
Edit the Author Bio in WordPress
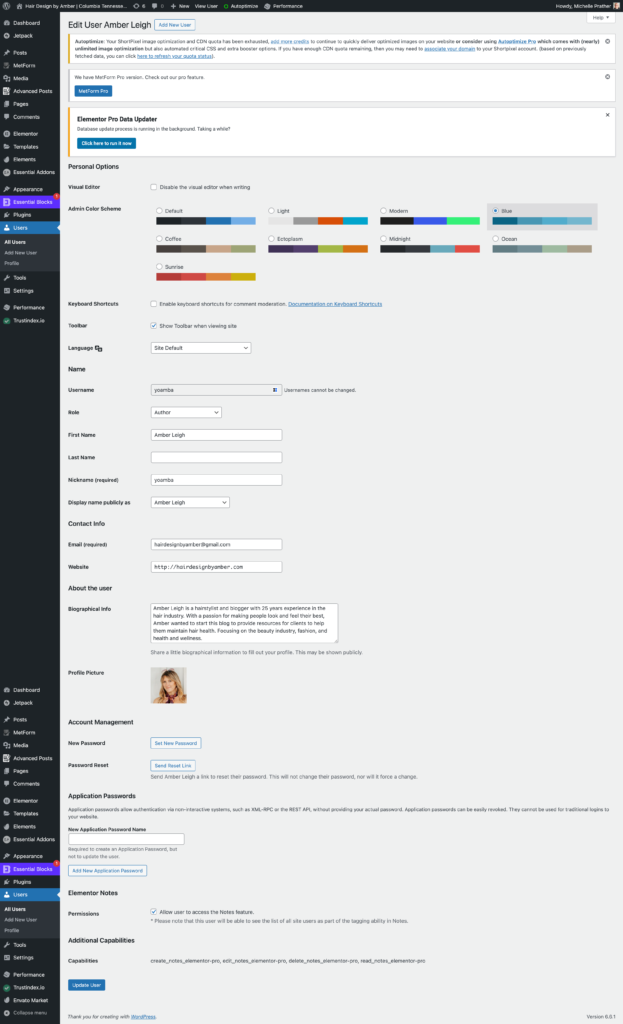
1. Access Your Profile Settings In your WordPress dashboard, go to “Users” > “Profile.” If you want to edit another user’s profile, go to “Users” > “All Users” and click on the user’s name.
2. Edit Profile Information
– **Nickname**: Enter a nickname if you want to display a name other than your username.
– **Display Name Publicly As**: Select the name you want to be displayed publicly from the dropdown menu.
– **Biographical Info**: Write or update your bio in the “Biographical Info” box. This text will appear as your author bio.
3. Update Your Profile
– Scroll down and click the “Update Profile” button to save your changes.
Troubleshooting
– Bio Not Updating If the bio doesn’t update, ensure you’ve saved changes in both the WordPress profile and Elementor.
– Style Issues Use the Elementor panel’s style options to adjust fonts, colors, and layout until the bio matches your site’s design.
https://wordpress.com/log-in/link
![]()